

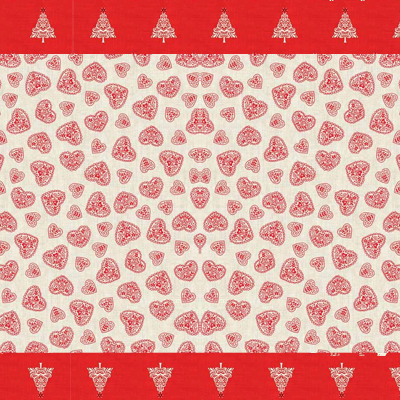
How to Make a Simple Scandi Table Runner
Looking to dress up your table for Christmas? Our theme of #12WeeksofStitchmas this week is table decor, so we've put together this sweet little scandi project just for you -...
How to Insert Zips
If you've never tried using zips in your sewing projects, don't be scared to give them a go - practice makes perfect in this case, and once you've got the...
How to Make a Nautical Lampshade
Think it's too complicated to make your own lampshade? Think again! Use this easy video and written instructions to be on your way to a beautifully handmade lampshade in merely...
How to Make Nautical Bunting
It's spring again, which means although there's a few blustery showers about, sunshine is on its way! And when I think sunshine, I think seaside... so I'm super excited to...
Video Tutorial: How to Make a Lampshade Using a Kit
Say hello to our first ever Youtube video! We know that crafting is a lot easier when you can see what you should be doing rather than just reading the...
Best Videos for Crochet Beginners
So you've seen all the new cute crochet yarns and patterns on our website right? And you've looked at them wistfully, wishing you could create something as lovely as that......
Mother's Day Gifts for Mums Who Sew
Mother's Day is coming up, and I've been stuck for gift ideas for a while. A bit of research, however, has uncovered some great gifts for mums who stitch, and...
NEW IN: The Multipom Pompom Maker
Want to get your hands on the hottest thing in crafting right now? Poms are all the rage at the moment, especially with easter coming up and pretty pastels and...
NEW: Star Stitcher Competition!
Want to show off your fab sewing projects AND be in with a chance to win some goodies from our website? Read on... NEW: Star Stitcher Competition! From 1st...
How to Make Valentine's Embroidery Hoop Art
Want to make something pretty to hang up and share the love on Valentine's day? Try out our embroidery hoop art project - it's a great one for beginners, using...
How to Sew a Simple Cushion Cover
This envelope cushion cover is a really easy project, no putting in zips and if you don’t feel confident in sewing buttonholes, you don’t have to as the back can be...
Sewing Tips and Tricks: How to Sew Tricky Fabrics
Even the best of us can feel beaten when it comes to attempting to sew certain fabrics - chiffons, silks, satins and suiting can all be tricky fabrics to work...
